Wedding Stationery Guide: What goes in your invitation suite?
Your wedding invitation suite is the first glimpse your guests will have of your big day, setting the tone for the celebration to come. But beyond the main invitation, there are several other pieces that can help provide important details, keep things organized, and add a thoughtful touch to your stationery. From RSVP cards to details inserts and envelope embellishments, each element plays a role in making sure your guests know exactly what to expect.
Not sure what to include? This guide breaks down everything that goes into a wedding invitation suite so you can create one that’s both beautiful and functional.
Bonus: scroll to the end of the post for a free checklist to stay on top of your wedding stationery!
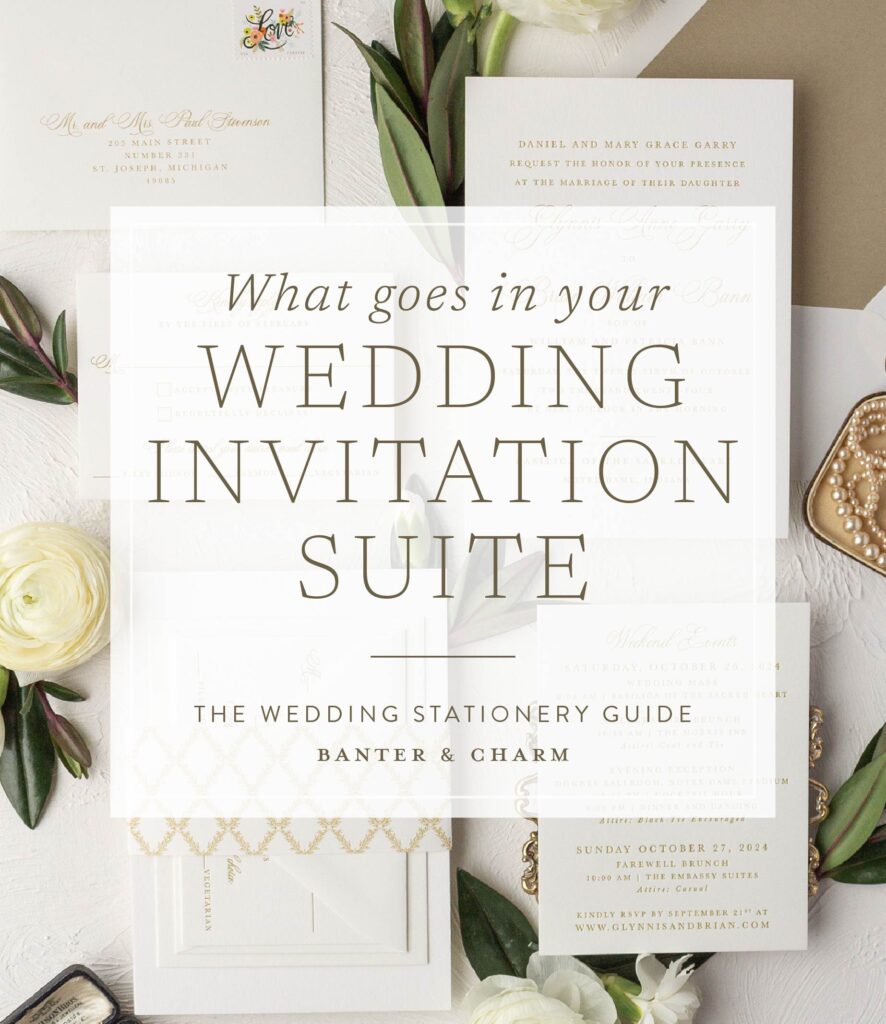
The following pieces are the most common items you’ll find in a wedding invitation suite. You may need all these pieces (and more), or just a few of them – it depends on your wedding! If you’re having a casual wedding in your home town, chances are you can skip the accommodations and directions cards. But if you’re planning an elaborate destination wedding you may want to provide your guests with lots of information (or maybe just direct them to your wedding website).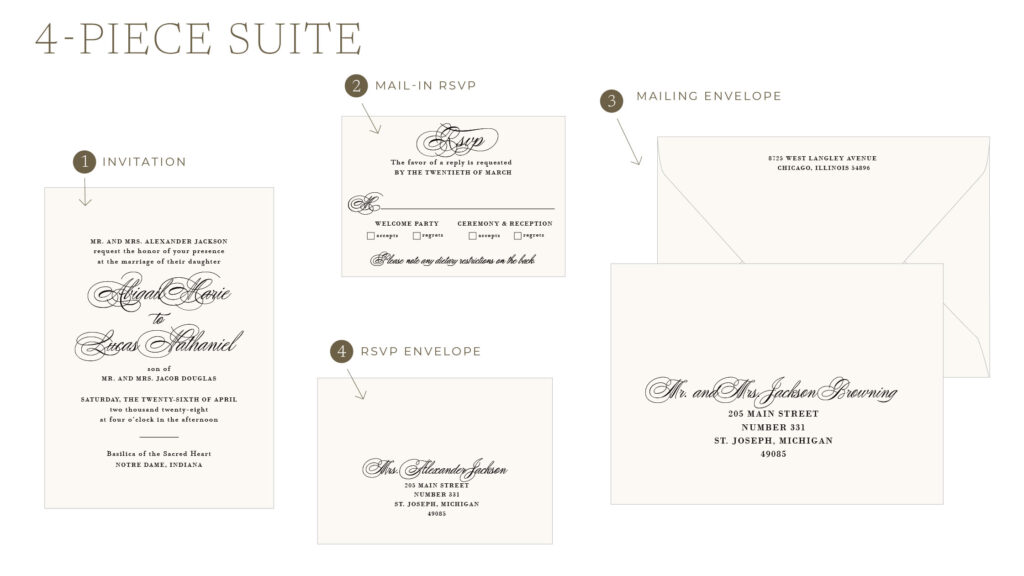
1. INVITATION
The invitation is the main component of your stationery suite. It contains the who, what, where, and when of the wedding. It is generally the largest piece.
5˝x 7˝ is standard, or upgrade to 5.5˝x 8.5˝
2. REPLY CARD
Whether you opt for the traditional mail-in RSVP or provide an online option, this is how guests let you know if they’re attending. If you’re doing a mail-in card, your suite will include a self-addressed reply envelope.
3½˝x 4⅞˝is standard
3-4. ENVELOPES
The return address is generally printed on the back flap of the mailing envelope. Use the host’s address; names are optional.
The guest’s mailing address is handwritten or printed on the front of the mailing envelope.
RSVP envelopes are printed with your address on the front.
3½˝x 4⅞˝ or 4¼˝x 5½˝
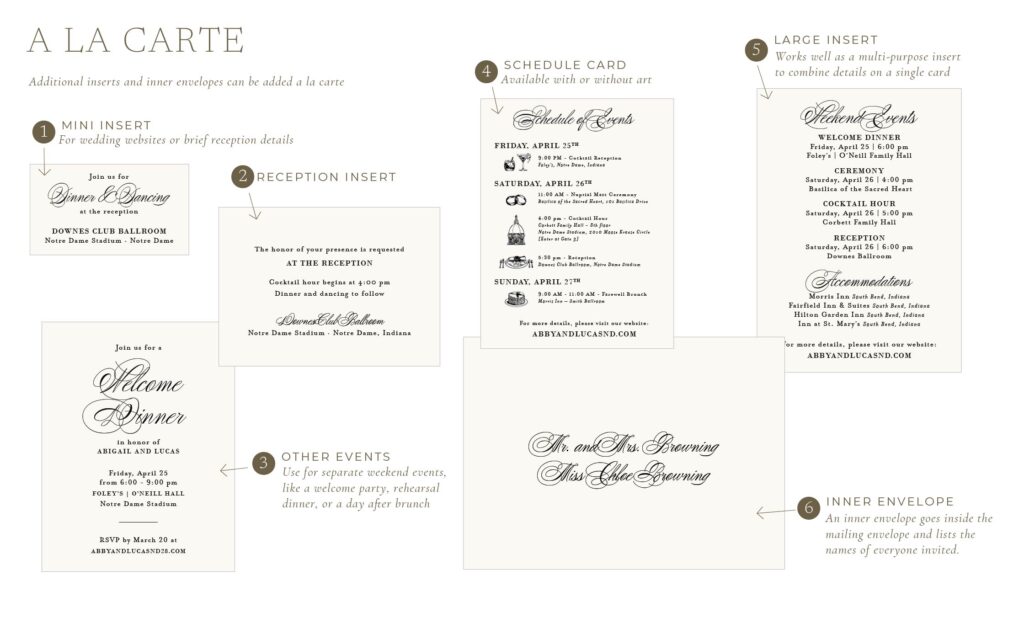
1,2,4,5. INSERT CARDS
Share details about the reception, your wedding website, or a schedule for the day. You can combine these into a larger “multi-purpose” insert or use separate cards for each.
2˝x 3½˝, 3½˝x 4⅞˝, 4¼˝x 5½˝, and 4½˝x 6¼˝
3. INSERTS FOR OTHER EVENTS
Use an insert to share information about other weekend events—like a welcome party or farewell brunch.
4. INNER ENVELOPE
An inner envelope is an optional second envelope goes inside the mailing envelope and lists the names of everyone invite.
Finishing Touches
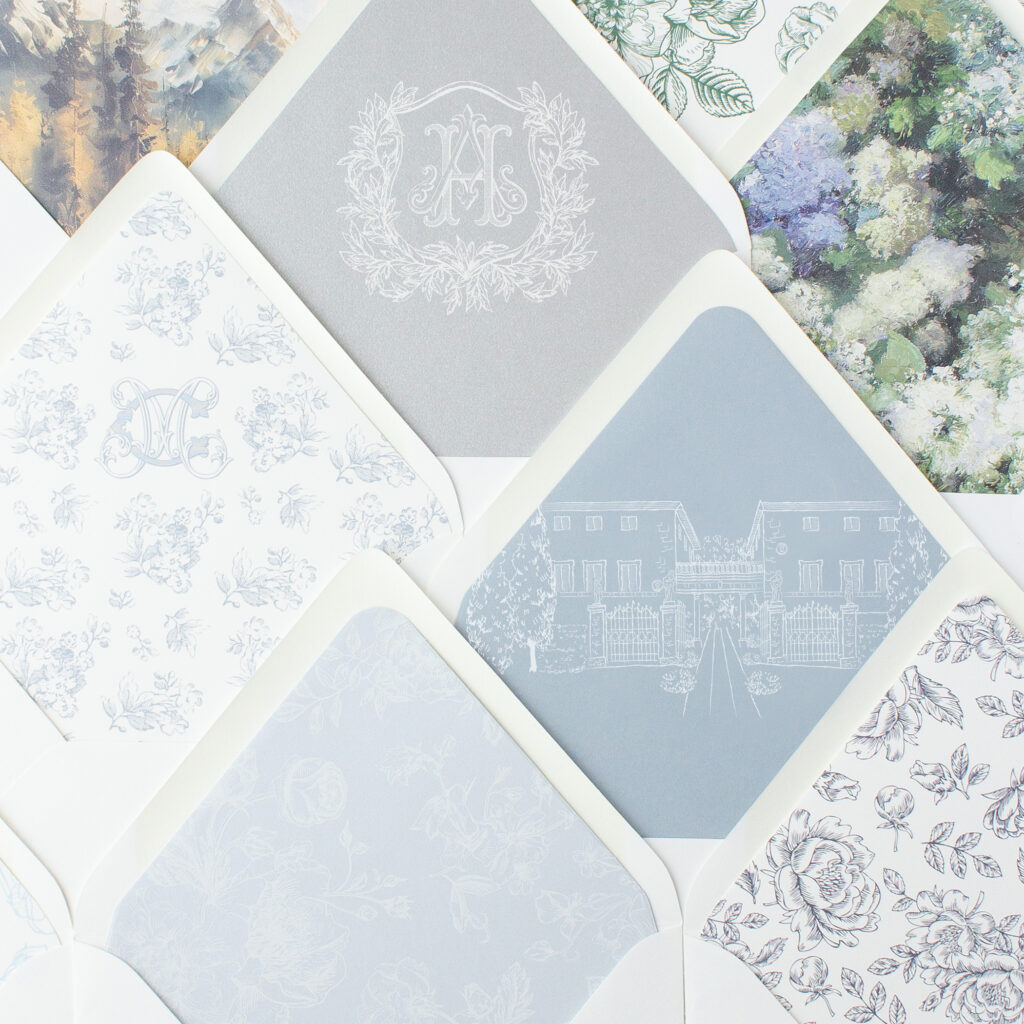
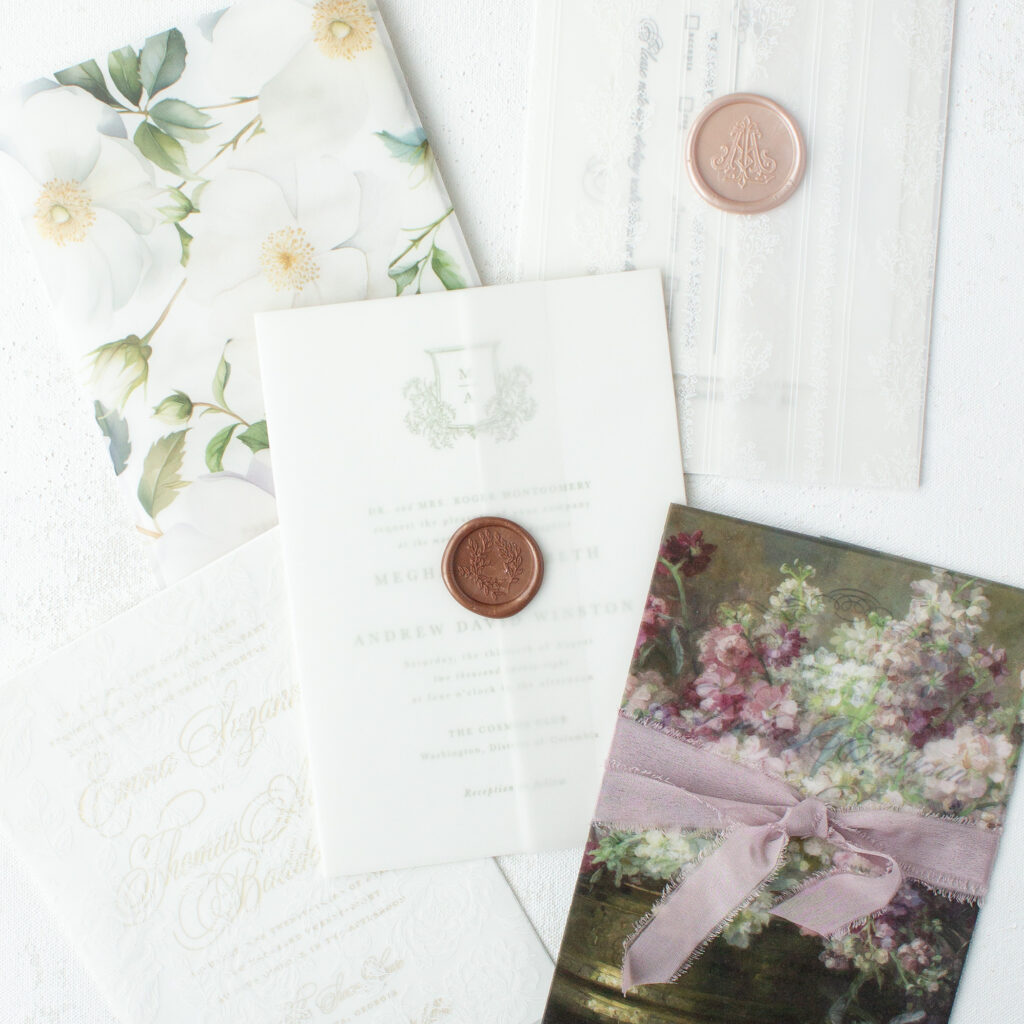
Embellishments like envelope liners, silk ribbons, belly bands, vellum wraps, and wax seals add an extra layer of personalization and elegance to your wedding invitation suite. All these items are optional—add as many or as few as you like.
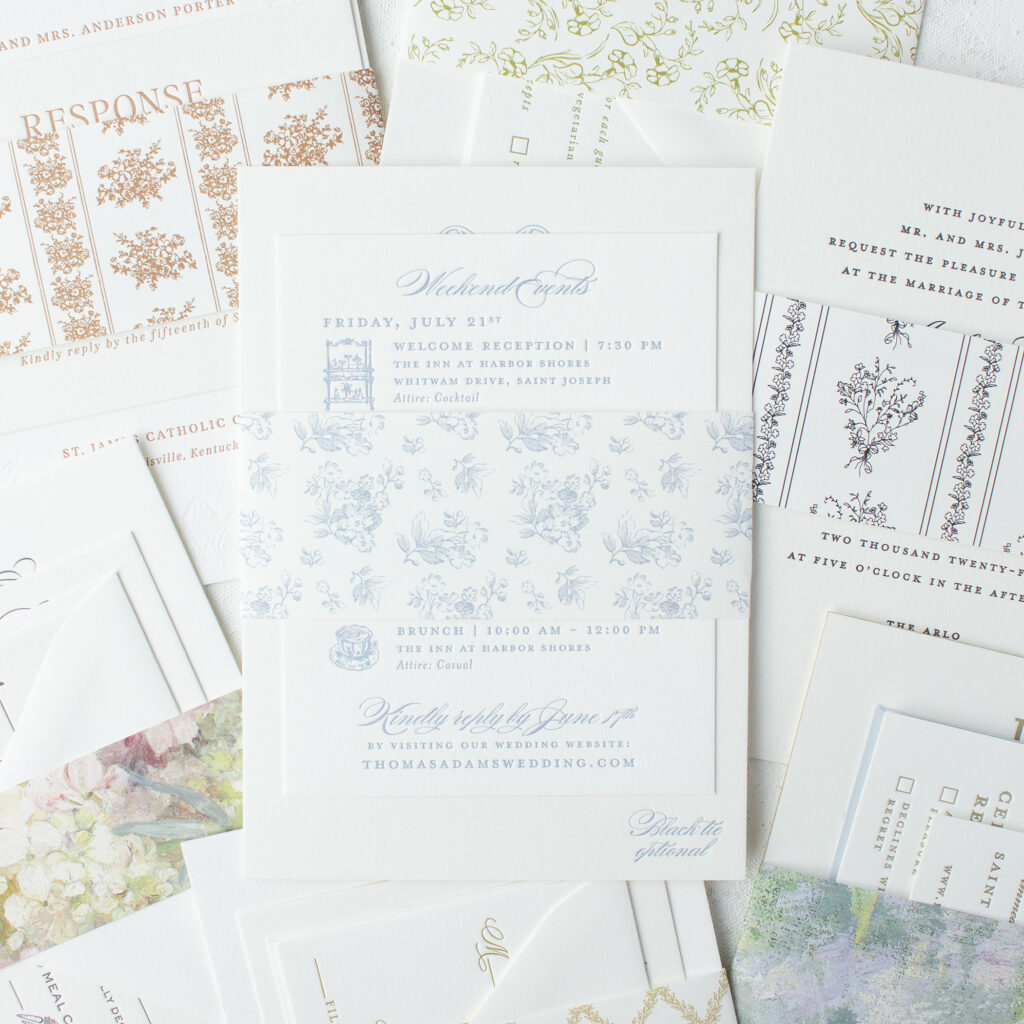
1. Belly Band
A thin piece of paper that’s folded around the invitation. It’s available plain or printed in your choice of paper color or translucent vellum. Pairs perfectly with a wax seal.
2. Envelope Liner
Placed on the inside of the envelope, this paper adds a pop of color and weight to the envelope.
3. VELLUM FOLDERS
Vellum adds a delicate, airy feel to your invitations and allows for creative layering, making your suite feel even more luxurious. You can leave the vellum blank or add custom printing like your monogram or a decorative element.
Your wedding invitation suite is more than just an invitation—it’s a beautifully curated collection of details that sets the stage for your big day. From the main invitation to RSVP cards, details inserts, and envelope embellishments, each piece plays a role in making sure your guests feel informed, excited, and ready to celebrate with you.
Looking for a way to keep on top of what stationery you need and when to order it? Sign up below to download my Wedding Stationery Checklist!
Whether you choose a classic, minimalist approach or a fully customized suite with luxurious finishes, the key is to create something that reflects your wedding style and makes a lasting impression. If you’re ready to craft an invitation suite that feels as special as the day it represents, I’d love to help bring your vision to life! Order a sample pack and schedule a complimentary consultation to get started.
request a quote
For pricing and availability, schedule a free consultation.
Let’s transform your wedding invitation vision into a tangible, beautiful reality.
Ready to begin?
order samples
See some of this pretty paper in person with a sample pack.