How To Assemble Your Wedding Invitations
How to assemble and mail your invitations like a pro
You’ve picked out your perfect wedding invitations, customized every detail, and now it’s time to send them out. But before you start stuffing envelopes, there are a few tricks to getting it just right. From assembling each layer to making sure they arrive on time, here’s your ultimate guide to assembling and mailing wedding invitations without a hitch.
In an era of evites and facebook events, your wedding invitations might be the first formal, printed stationery you’ve sent. So when it comes time to assemble your wedding invitations, it’s easy to feel lost! Assembling your invitations can be as simple as stacking the pieces and stuffing the envelope or involve a glue gun and bow-tying skills. I do offer full or partial assembly services if any of this is more than you want to handle!
Make your mailbox debut flawless and avoid common wedding etiquette mistakes with these wedding invitation assembly tips!
Some of this advice may seem old-fashioned, but if you’re a bride who embraces traditions, be sure to follow these tips. When in doubt, I refer to Emily Post and Crane’s Blue Book for all things etiquette. That being said, it’s your wedding so make sure to do what makes sense for you!
How to assemble your invitations
gather your supplies
Double-check that you have all the pieces of your invitation order, addressed envelopes, postage, envelope moistener, and any adhesives or supplies you need to assemble the invitation suite. Having everything at your fingertips will make the process smooth, and working in batches is key for keeping things organized and efficient.
use clean hands
Since the smallest amount of dirt or oil from your hands can show up on paper, make sure to wash and dry your hands before you begin. Nail polish may rub off on cotton paper, so be mindful of your manicure when handling your stationery.
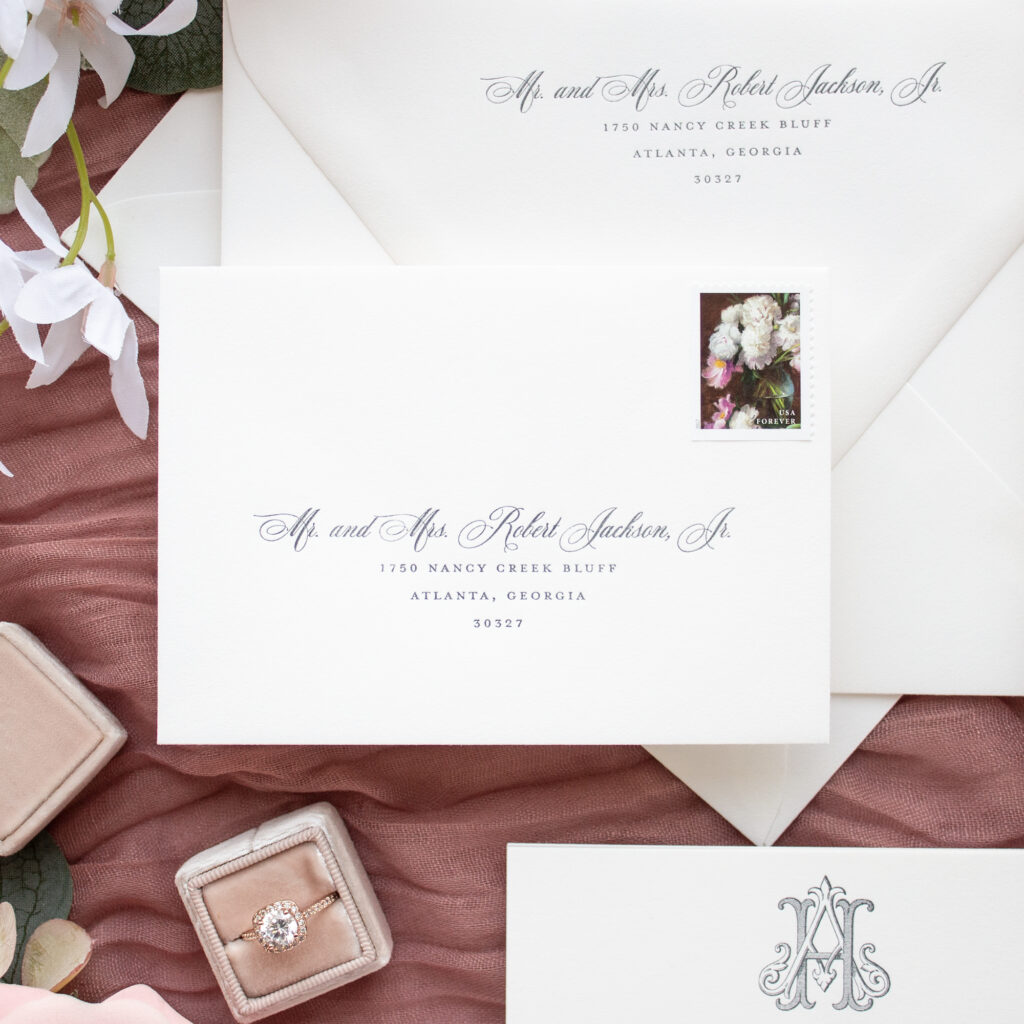
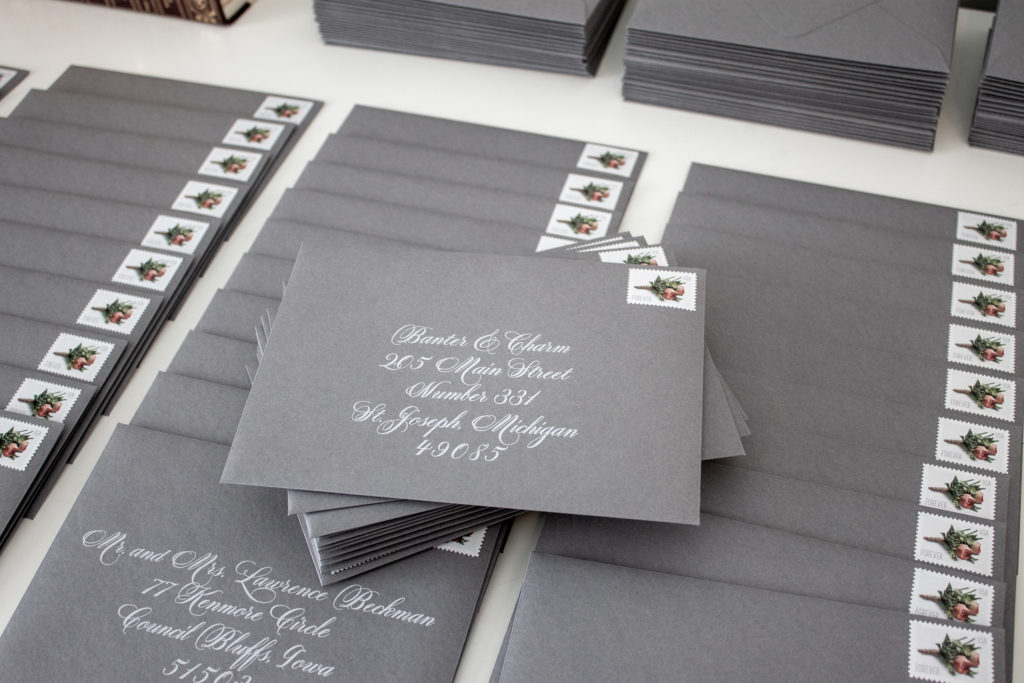
postage
The amount of postage required for your invitation suite will vary based on the weight. Embellishments like wax seals, ribbon, and thick paper can also affect your postage rate – if they make your envelopes bumpy or too stiff, there is a “non-machinable” charge.
Take one assembled invitation with all the embellishments to your local post office so they can weigh it and quote a postage rate. Tip: you can use any combination of stamps as long as they add up to at least the quoted amount.
Make sure to buy stamps for the RSVP card envelopes as well. Standard 1 oz postage is normally used for your RSVP envelopes.
You can order postage online from USPS. They offer a wider selection of stamps online than most post offices carry.
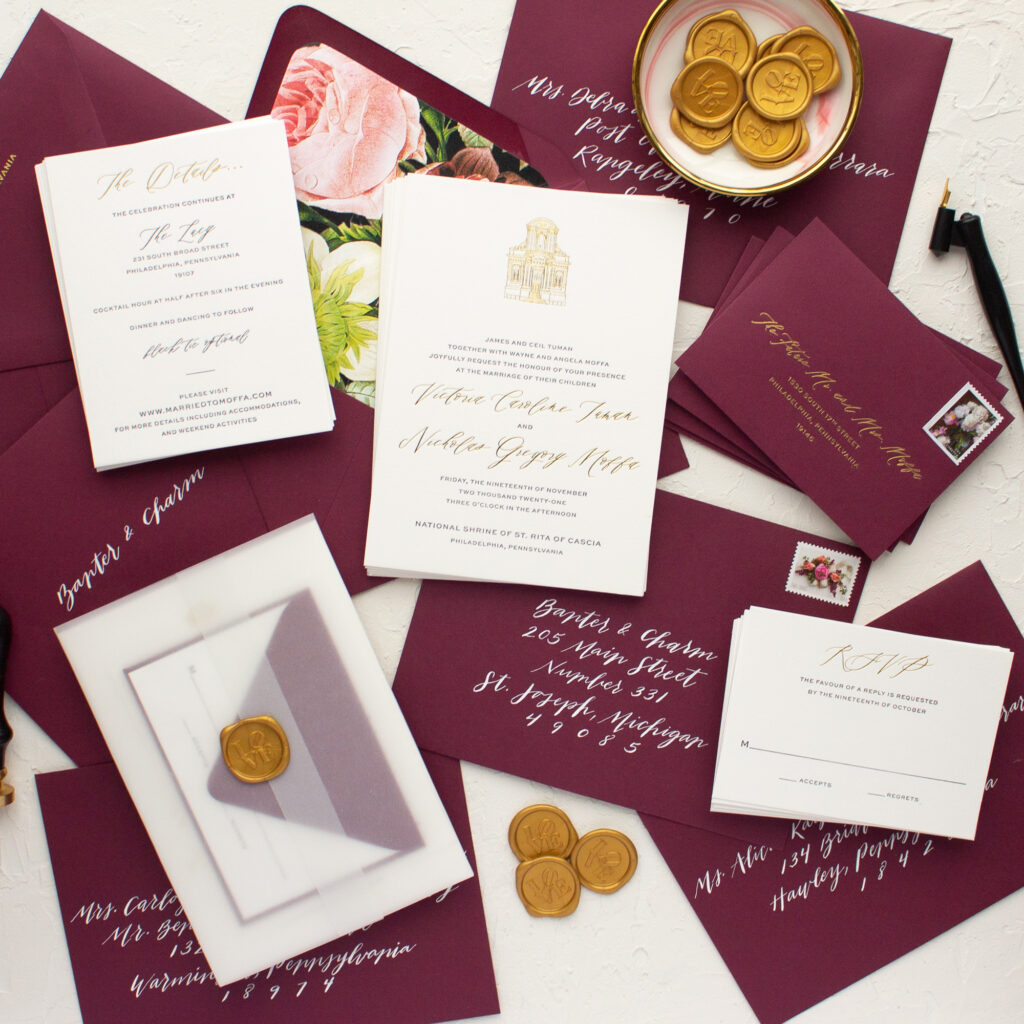
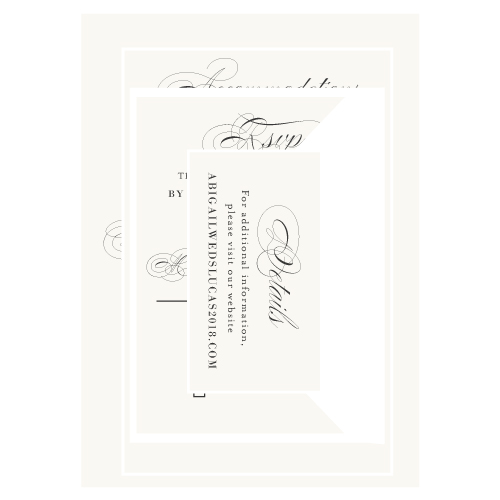
stacking the enclosures
These are instructions for the traditional way to stack your enclosures, but you may want to do things differently depending on the pieces in your invitation suite and your preferences.
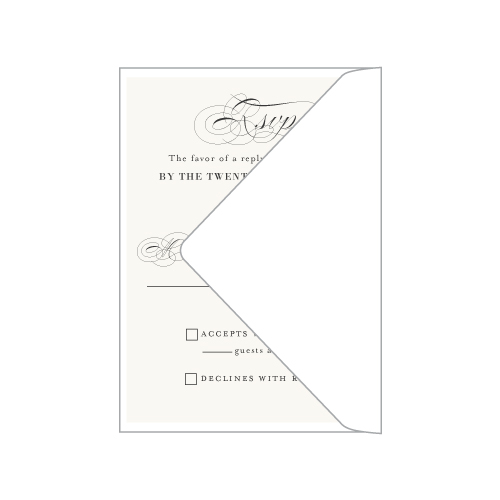
Place the RSVP card under the flap of its envelope so the card is face up and the addressed side of the envelope is face down.
Stack the enclosures face-up in order of size, with the largest piece on the bottom.
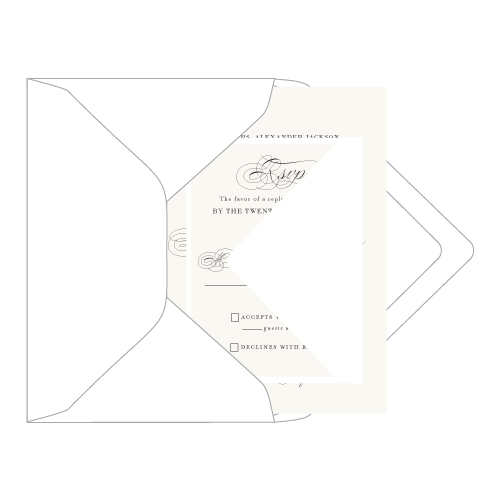
Stuffing the envelope
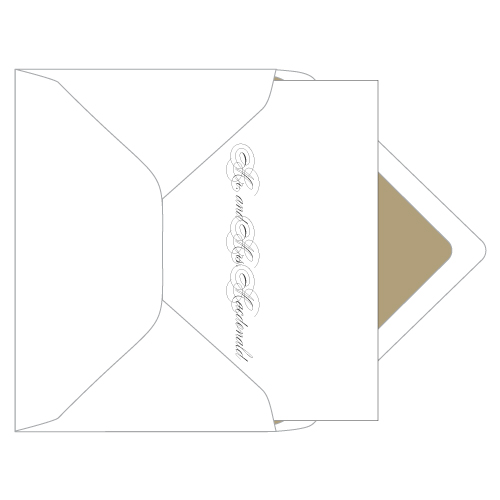
If you’re using an inner envelope, place it inside the mailing envelope with the guest names facing the open side of the envelope.
Place the invitation and inserts in the envelope so that they are right-side-up when pulled out with your right hand.
sealing the envelope
Inner envelopes should be left unsealed and often don’t even have adhesive on the flap.
Use an envelope moistener to activate the glue on the mailing envelope flap. You can use a damp sponge or saliva, but whatever you use, don’t over-wet the adhesive- use just enough to activate the glue.
Press down firmly to seal or place the envelope under a heavy book. If your envelopes don’t want to stay closed, try using double-sided tape or a glue stick.
MAILING
Timing matters when it comes to mailing wedding invitations:
•Standard Mailing: Plan to mail invitations around 8-10 weeks before the wedding date. This gives guests plenty of time to mark their calendars and make travel arrangements.
•For Destination Weddings: If you’re hosting a destination wedding, aim for 10-12 weeks before the big day to give guests extra time to plan.
Take your ready to mail invitations to your local post office and ask for them to be hand-canceled. Generally, the postage on envelopes is “canceled” by running it through a machine that stamps a postmark across the postage. These machines can be rough on thick invitations, especially if there are wax seals, ribbon, or different sizes of enclosures that create bumps in the envelope.
Please note that many post offices have phased out hand-canceling, or may say there is a charge. You can try a different post office, or come back on a different day, or even offer to hand-cancel them yourself. This only guarantees the envelopes won’t go through a machine at your local post office. A different post office may still use machines to sort the mail.
Mailing your wedding invitations is one of the final steps in bringing your wedding vision to life. With a little patience and planning, you’ll have your invitations beautifully assembled and out the door in no time. Take it one step at a time, savor the moment, and know that each envelope is an invitation to celebrate with you.
And if you’re feeling overwhelmed or need help along the way, I’m here to help with tips, suggestions, or even take over the assembly and mailing if it’s more than you want to tackle. After all, this is your big day—and your invitations deserve the same thoughtful care you’ve put into every other detail.

request a quote
For pricing and to get started, schedule a free consultation.
Let’s transform your wedding invitation vision into a tangible, beautiful reality.
Ready to begin?
See some of this pretty paper in person with a sample pack.


